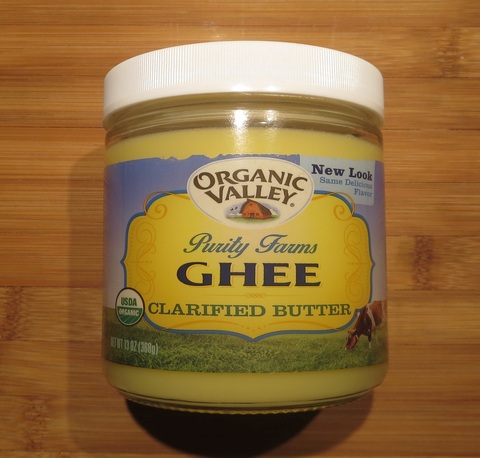
Make Your Own Ghee
Organic Valley Ghee (AKA clarified butter or butter oil) is commonly sold for $10.95 – $15.19 for a 13 oz jar. Guess what? You can make it yourself and save money. I just found Organic Valley unsalted butter on sale for $4.99/pound. I purchased 6 pounds and put 5 in the freezer for future ghee making. Here is how to make your own batch of ghee.
Categories(s): Paleo
Benefits: When your goal is to eat a lower carb/higher fat diet or follow a Paleo lifestyle, but you want to avoid the casein and whey proteins found in butter, you can use ghee as an alternative. Another advantage of ghee over butter is that it has a much higher smoke point, 485 Deg F. vs. 350 deg F, and because the milk solids have been removed it won’t burn like butter. Making your own is doable and saves money!
Ingredients/Supplies:
- 1 pound of unsalted cultured butter such as Organic Valley (pasture-raised).
- medium size saucepan
- wooden spoon
- coffee filter for straining out milk solids
- metal strainer
- 2-cup Pyrex glass measuring cup (glass should be heat resistant like Pyrex since the ghee will be hot when you pour it)
Optional: flavor your ghee with garlic powder or fresh garlic or other creative seasonings/herbs
Method: (see pictured steps below)
- Place one pound of butter in saucepan. Once you get the hang of it you may want to process more than one pound at a time.
- Heat on low heat until melted
- Increase heat to medium-low and continue heating until the melted butter starts to lightly boil. Be careful here. You may need to adjust heat up or down. The goal is to boil gently as the residual water in the butter boils off and the milk solids begin to separate.
- You will notice that whey will float to the top and forms a white foam. Use your spoon to skim off this foam. You will also notice that the milk solids will drop to the bottom of the pan and coalesce.
- As you continue to cook, the milk solids on the bottom will begin to turn golden brown and the ghee will obtain a nice golden color. You don’t want the milk solids to burn so watch it closely and error on the side of caution. You will notice a rich and nutty butter aroma in your home. If you stop before the milk solids have browned you will have clarified butter rather than ghee. Remove the ghee from the heat and let it cool for about 5-10 minutes.
- Set up coffee filter inside your metal strainer and set it over a 2-cup Pyrex glass measuring cup. Start pouring the ghee into the filter. You will likely pour about 1/3 of it at a time and let it slowly filter through before adding more. If the ghee is too cool it will get thick and will not move thru the filter. If this happens just reheat it until it flows again.
- Once all the ghee is filtered place it in a glass jar. Avoid using a plastic container. You will notice in the pictures below that I recycle my original Organic Valley ghee container. One pound of butter will make 12-13 ounces of ghee. Store near your stovetop to use for panfrying and sautéing or topping cooked vegetables. There is no need to refrigerate your ghee.
We make ghee about every 3 weeks at our house. (OK, I will be honest about the fact that I am using the “royal we,” because really it is Craig who usually makes our ghee.) Our dog Sheldon happily eats the skimmed off foam and the cooked bits from the bottom of the pan. This way we don’t waste anything! See how Sheldon is patiently waiting for his dinner topping below. . . .
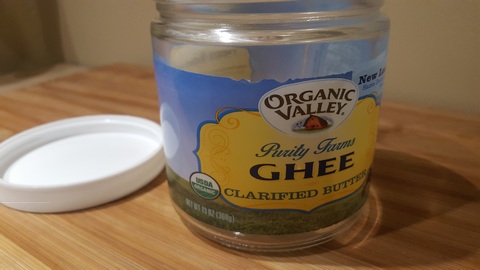
Out of ghee
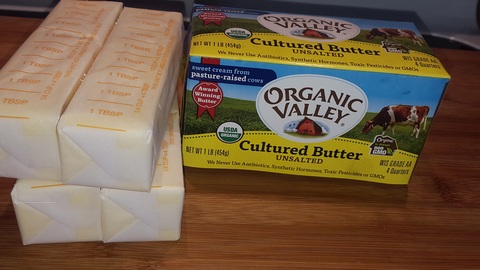
Ingredients
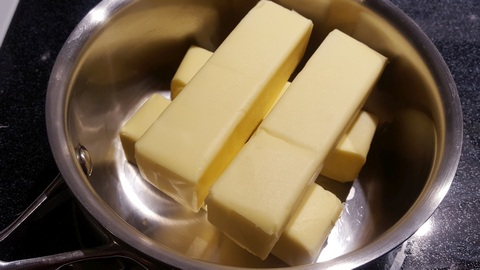
Medium saucepan
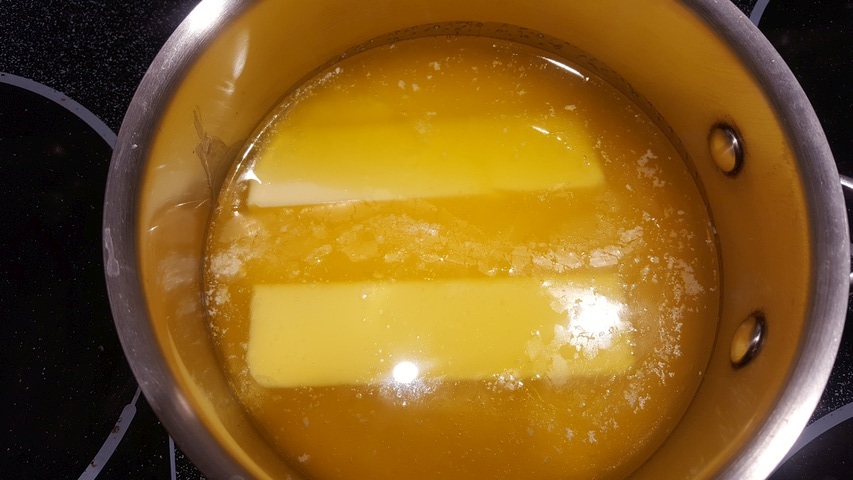
Melt over low heat
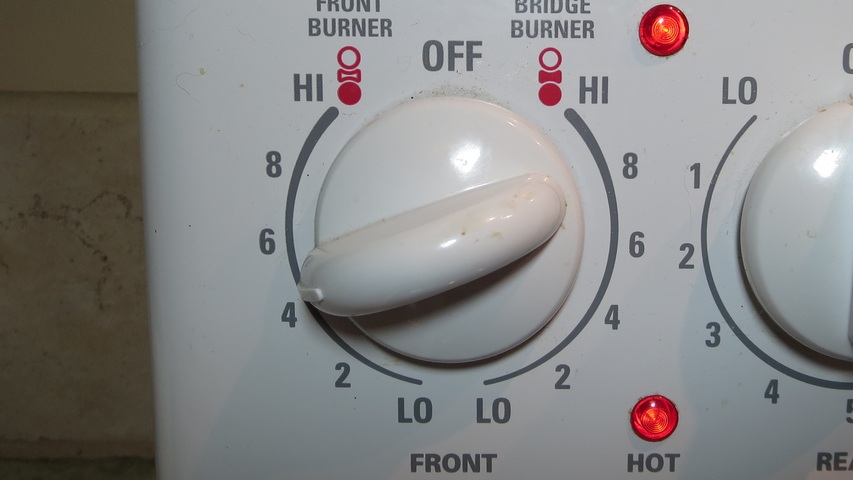
Increase heat a bit

Foam forming on top
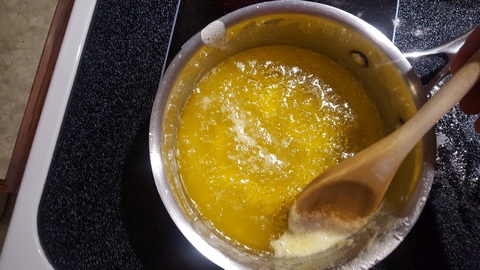
Remove foam
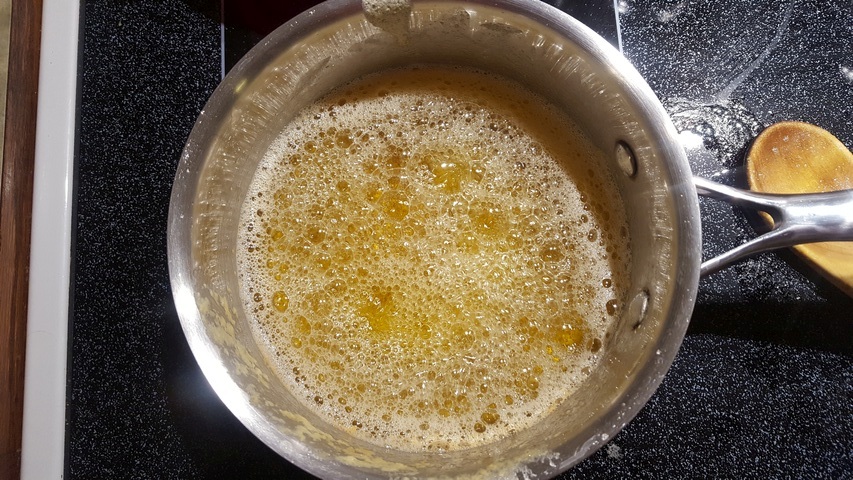
Continue gently boiling

Protein will settle and darken

Sheldon is patiently waiting
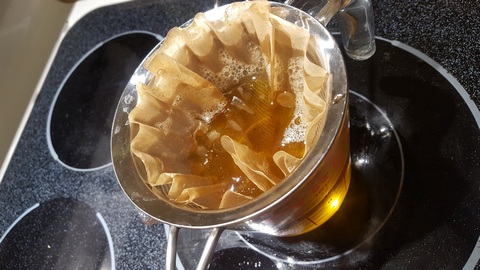
Filter out golden brown bits

Refill empty jar!
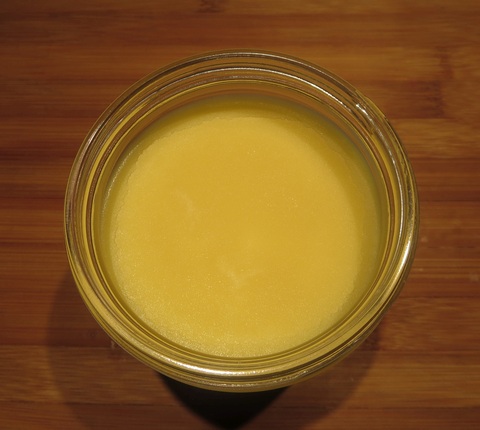
Solidified ghee
Provided by Tracey Long, MPH, RDN at www.bigpicturehealth.com


